I've been scalping gold for a few years now. Tried plenty of approaches — pure price action, RSI divergence, Bollinger band squeezes, MACD crossovers. Some of them worked sometimes. None of them worked consistently enough to become my everyday method.
Then I started experimenting with EMA ribbons.
Not a single EMA. Not a crossover of two EMAs. A full ribbon — a stack of exponential moving averages that form a visual cloud on the chart. And honestly, once I started reading price through that lens, my scalping changed completely.
This article walks through exactly how I use EMA ribbon clouds to scalp XAUUSD on the M5 timeframe. I'll cover the setup, the entry logic, where I put my stops, and the specific patterns I look for before pulling the trigger.
Why a Ribbon Instead of a Single EMA?
A single EMA — say the 20 EMA — tells you one thing: whether price is above or below it. That's useful, but it's binary. You're either above or below. There's no nuance.
A ribbon of multiple EMAs (I typically use 5 to 8 EMAs with different periods stacked together) gives you something much richer. It shows you:
- Trend strength — when the ribbon fans out and expands, the trend has momentum. When it squeezes tight, momentum is dying.
- Trend direction — the order of the EMAs tells you the direction. Fastest EMA on top = bullish. Fastest on bottom = bearish.
- Pullback quality — when price pulls back into the ribbon but doesn't break through it, that's a high-quality continuation setup.
- Transition zones — when the ribbon twists and the EMAs start crossing each other, you know the market is undecided. That's when I stay out.
Think of it like reading weather. A single thermometer gives you temperature. A full weather station gives you temperature, humidity, wind speed, and pressure. The ribbon is the weather station.
My Ribbon Configuration
I won't pretend the exact periods are some kind of secret formula. They're not. What matters is the spacing between them and how they interact with each other on gold specifically.
Here's what I use in my Gold EMA Ribbon Scalper setup:
- EMA 5 (fastest — the leading edge)
- EMA 8
- EMA 13
- EMA 21
- EMA 34
- EMA 55 (slowest — the anchor)
These are Fibonacci-based periods. I didn't pick them because Fibonacci has magical properties — I picked them because the spacing creates a ribbon that breathes nicely on gold's M5 chart. Too tight and you don't see expansion. Too wide and the ribbon becomes sluggish.
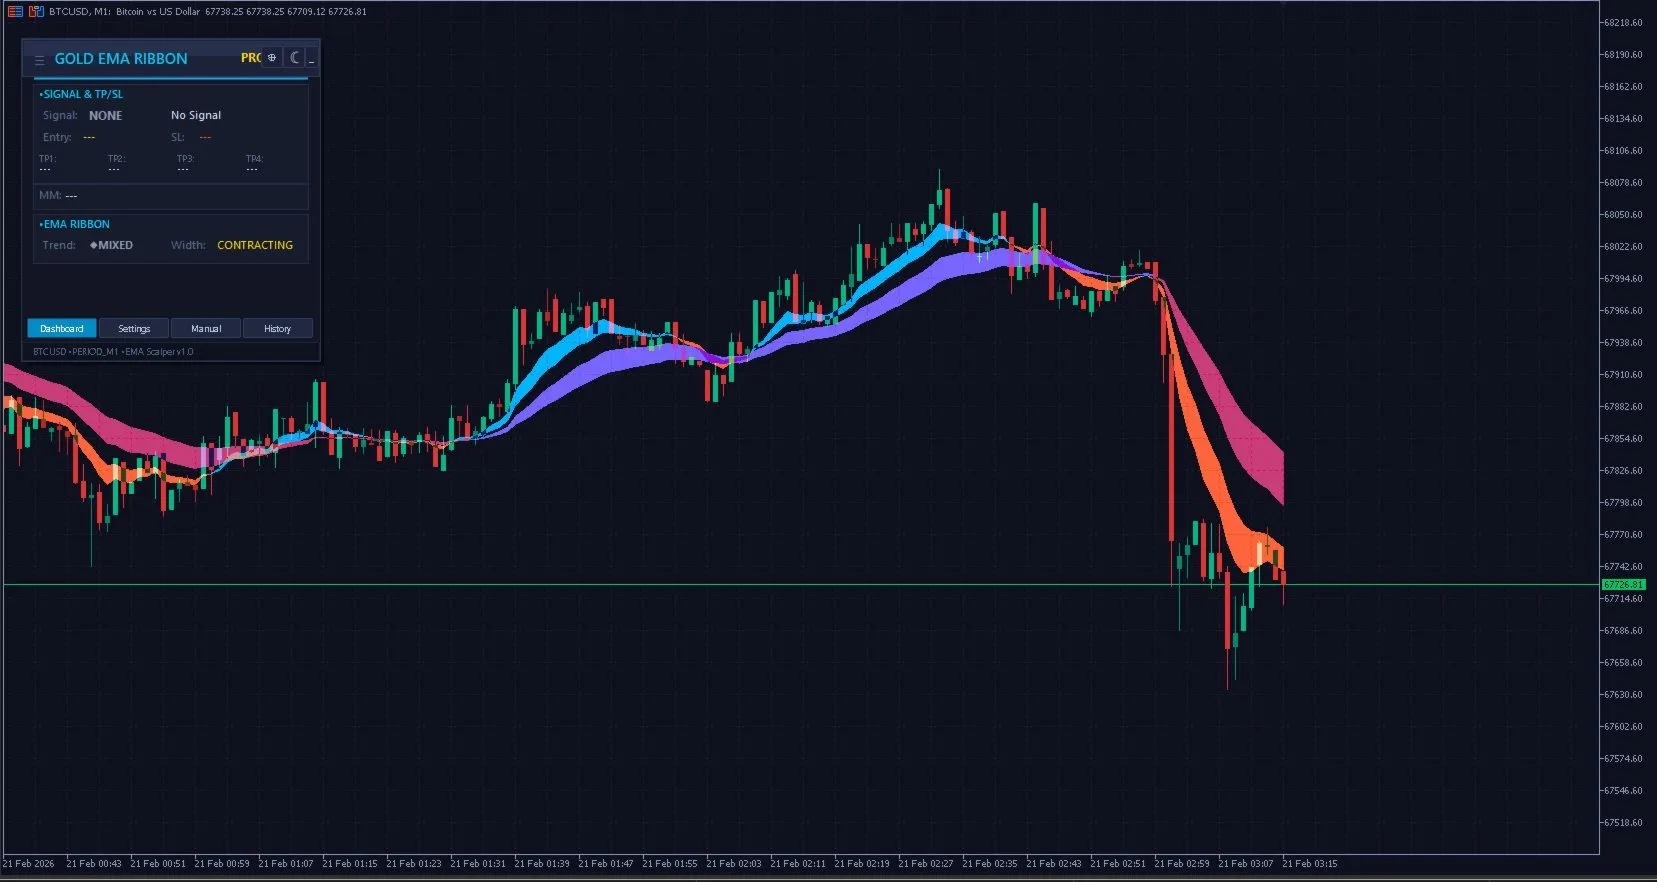
I color the area between the fastest and slowest EMA as a filled cloud. Green when bullish (fast above slow), red when bearish (fast below slow). This gives me an instant visual read on trend state.
The Three States of the Ribbon
After watching ribbons on gold for hundreds of hours, I've found that it essentially exists in three states. Each one requires a different response.
State 1: Expanded Ribbon (Strong Trend)
The EMAs are fanned out wide. Each line is clearly separated from the next. The cloud is thick and solid-colored. This means one side is winning decisively.
My response: Only trade in the direction of the ribbon. Never counter-trend when the ribbon is expanded. Look for pullbacks into the ribbon's upper edge (in an uptrend) or lower edge (in a downtrend).
State 2: Compressed Ribbon (Consolidation)
The EMAs are squeezing together. The cloud is thin, almost a line. Sometimes the EMAs are tangled. This means neither side has control.
My response: Stay out. Completely. Compressed ribbon on gold M5 usually means the market is waiting for a session open, a news release, or institutional flow. Scalping during compression is how you get chopped to pieces.
State 3: Twisting Ribbon (Transition)
The EMAs are crossing over each other. The cloud color is flickering between green and red. This is the transition from one trend to another — or sometimes just noise.
My response: Watch closely but don't jump in. I wait for the ribbon to fully sort itself — meaning all EMAs are back in order (fastest to slowest) — before I take a new trade. False twists happen a lot on gold, especially during London-New York overlap.
My Entry Rules (The Actual Process)
Here's the step-by-step process I follow every morning when I sit down to scalp XAUUSD:
Step 1: Check H1 for Direction
I don't trade M5 in isolation. First, I pull up the H1 chart and check the ribbon state there. If H1 shows an expanded green ribbon, I only take longs on M5. If it's red, only shorts. If it's compressed or twisting on H1, I don't trade at all.
Step 2: Wait for M5 Ribbon Expansion
Once I have my H1 direction, I switch to M5 and wait for the ribbon to expand in the same direction. I need to see clear separation between all EMAs, ordered properly.
Step 3: Wait for a Pullback Into the Ribbon
I don't enter on the expansion itself — that's usually the move I've already missed. Instead, I wait for price to pull back into the ribbon cloud. Specifically, I want price to touch or penetrate the cloud without breaking through the slowest EMA (EMA 55).
Step 4: Enter on Rejection
When price touches the ribbon and produces a rejection candle — a pin bar, engulfing candle, or strong close back outside the cloud — that's my entry. The rejection confirms that the trend side still has control.
Step 5: Place Stop Below the Ribbon
My stop loss goes below the slowest EMA (EMA 55) plus a small buffer. On gold M5, this is typically 30-60 pips depending on current volatility. If the stop needs to be wider than 80 pips, I skip the trade — the risk-reward doesn't make sense for a scalp.
Why I Prefer M5 Over M1 for Gold Scalping
I've tried M1. For months. It's tempting because you get more signals, more action, more dopamine. But M1 on gold is brutally noisy. The ribbon on M1 twists constantly, giving you false signals every few minutes.
M5 smooths out just enough of the noise while still being fast enough for scalping. A typical M5 scalp trade on gold lasts 15-45 minutes. That's comfortable. It gives you time to manage the trade without panicking over every tick.
M15 is also viable, but the signals are too infrequent for my taste. Some days you'll only get one or two setups on M15. On M5, I usually see three to five quality setups during the London and New York sessions.
Ribbon Expansion as a Momentum Gauge
One thing that took me a while to figure out: the speed of ribbon expansion matters as much as the direction.
When the ribbon snaps open quickly — like a fan being opened in one fast motion — that usually indicates strong institutional flow. These are the best trades. The pullback comes quickly, the rejection is clean, and the follow-through is reliable.
When the ribbon expands slowly, gradually widening over many candles — that's organic retail flow. These moves are more fragile. They can reverse on a single large candle. I still trade them, but with tighter targets and quicker exits.
Common Mistakes I Made Early On
If you're starting out with ribbon-based scalping, here are the mistakes I made so you don't have to:
Trading compressed ribbons. I used to try to predict which way the ribbon would expand. That's gambling, not trading. Compression can resolve in either direction. Wait for it to happen, then act.
Entering on the expansion candle. The first candle that causes ribbon expansion is tempting, but the entry is usually too late and the stop is too wide. The pullback gives you a better price and a tighter stop.
Ignoring the higher timeframe. An M5 bullish setup means nothing if H1 is clearly bearish. I learned this the hard way — multiple times.
Using too many EMAs. I tried ribbons with 12+ EMAs. They look beautiful on screen, but they don't add information. 5-8 well-spaced EMAs give you everything you need.
Does This Work on Other Pairs?
Honestly, the ribbon concept works on anything that trends. I've used it on EURUSD, GBPJPY, and even NASDAQ futures. But it works best on instruments with strong directional moves and decent volatility — which is why gold is ideal.
Gold (XAUUSD) has these properties that make ribbon trading particularly effective:
- Clear session-based trends (Asian quiet, London push, New York continuation)
- High enough volatility for meaningful moves on M5
- Respects EMA levels well due to institutional algo participation
- Mean-reversion pullbacks are clean and frequent
If you want to try this on other instruments, my EMA Ribbon Trend Pro indicator works on any symbol — not just gold. Same ribbon logic, applicable to any MT5 chart.
My Typical Day With This Setup
I sit down around 8:30 AM London time. Check H1 direction. If there's a clear trend, I switch to M5 and wait. Most days, the first clean setup comes between 9:00 and 10:30 AM during the London session push.
I take the trade, set my TP and SL, and manage it. If I get a second setup in the same direction, I might take it. Three trades per day is my maximum — after that, overtrading kills whatever edge I had.
There are days when H1 is compressed and I don't trade at all. That used to frustrate me. Now I see it as discipline that protects my capital.
The Practical Takeaway
EMA ribbon scalping isn't flashy. It doesn't produce 20 trades per day. It doesn't promise 90% win rates. What it does is give you a clear, visual framework for reading momentum — one that reduces ambiguity about when to enter, when to stay out, and when to exit.
If you've been struggling with gold scalping because your entries feel random, try this: put a 6-EMA ribbon on your M5 chart. Watch it for a week without trading. Just observe how price interacts with the ribbon during different sessions. You'll start seeing the patterns I've described here.
And when you're ready to automate the ribbon visualization with built-in signals, take a look at my Gold EMA Ribbon Scalper Pro. It does the heavy lifting of drawing the ribbon, detecting expansion, and generating non-repainting signals — so you can focus on the trading decisions.
Disclaimer: This article describes my personal trading approach and is not financial advice. Trading involves significant risk of loss. Past results do not guarantee future performance. Always use proper risk management.